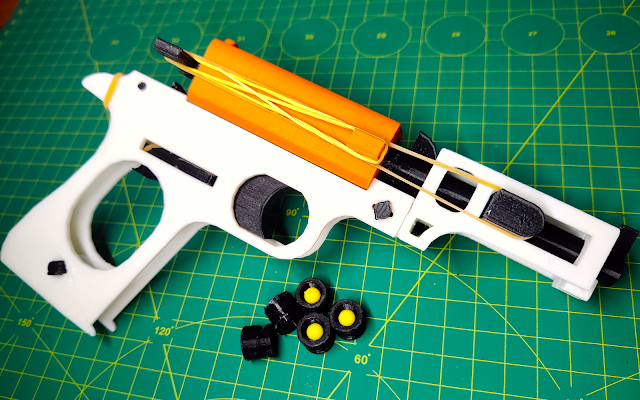
How to Make a 3D Printed “SPY” Folding Rubber Bands Blaster
Hey guys, I am very glad you can click that link and welcome. To be honest, this is my first blog and I believe it will have many places which need to make improvements in the future.
STL download:
https://www.thingiverse.com/thing:5335227Chapter I ---- the surprised support
First of all, I am going to share one of my experiences when I printed the blaster. If you want to make this little blaster, I hope this experience can help you. Actually when removing the support, I had to be very careful, because there are 2 very small hooks and that parts are connected with support so here is the point. If you remove the support not carefully, maybe the small hooks will break.
Chapter II ---- what we need to prepare
After printing all of the parts, we can prepare to put them together but wait a second. Can we just put them together directly? If we need to prepare some tools? Yeah, of course. That's really important. If you have the right tools, you will do the job more smoothly.
Here are my tools that I used in this project and in this video. A sandpaper. It's really simple, right? Besides the tool, the rubber band is very important as well. After all this is a rubber band gun. This time the rubber bands which I used are the 1.6cm diameter rubber band.
Come back to the sandpaper. Mainly we need to sand the lock and the angle on the slide rail of this lock. Slide them and make them smooth.
Chapter III ---- how to build it
Finally, all the preparation is good. We can put them together. This project is not complicated and all the steps are in my video so just watching it, it's ok.
Well I'm glad you can read here from the beginning of the article and if you like the article or the video. Please press the subscribe button and the thumb up. Thanks a lot;)
Support: https://paypal.me/SebastianXHu?country.x=C2&locale.x=zh_XC


Comments
Post a Comment